Hey, Riku here!
In my video Practical Guide EP. 1 | Setting Up the Development Environment and Server and in this blog, I talk about how I set up my development environment and server.
|Contents
- Setting Up the Development Environment
- Setting Up the Server
- Installing and Setting Up the Strix Unity SDK
- Riku’s Question Corner: “When using Strix Cloud, why do we connect to a room server?”
|Setting Up the Development Environment
Below is what you will need in order to set up your development environment.
Also, a character, a map, a bow and arrow and scripts for a single player game are all provided in my sample project. Download it and try it out!
First, I’m going to explain how to start up the project using the Unity Hub and Unity launcher.
From the Unity Hub, open up Unity version 2020.1.6f.
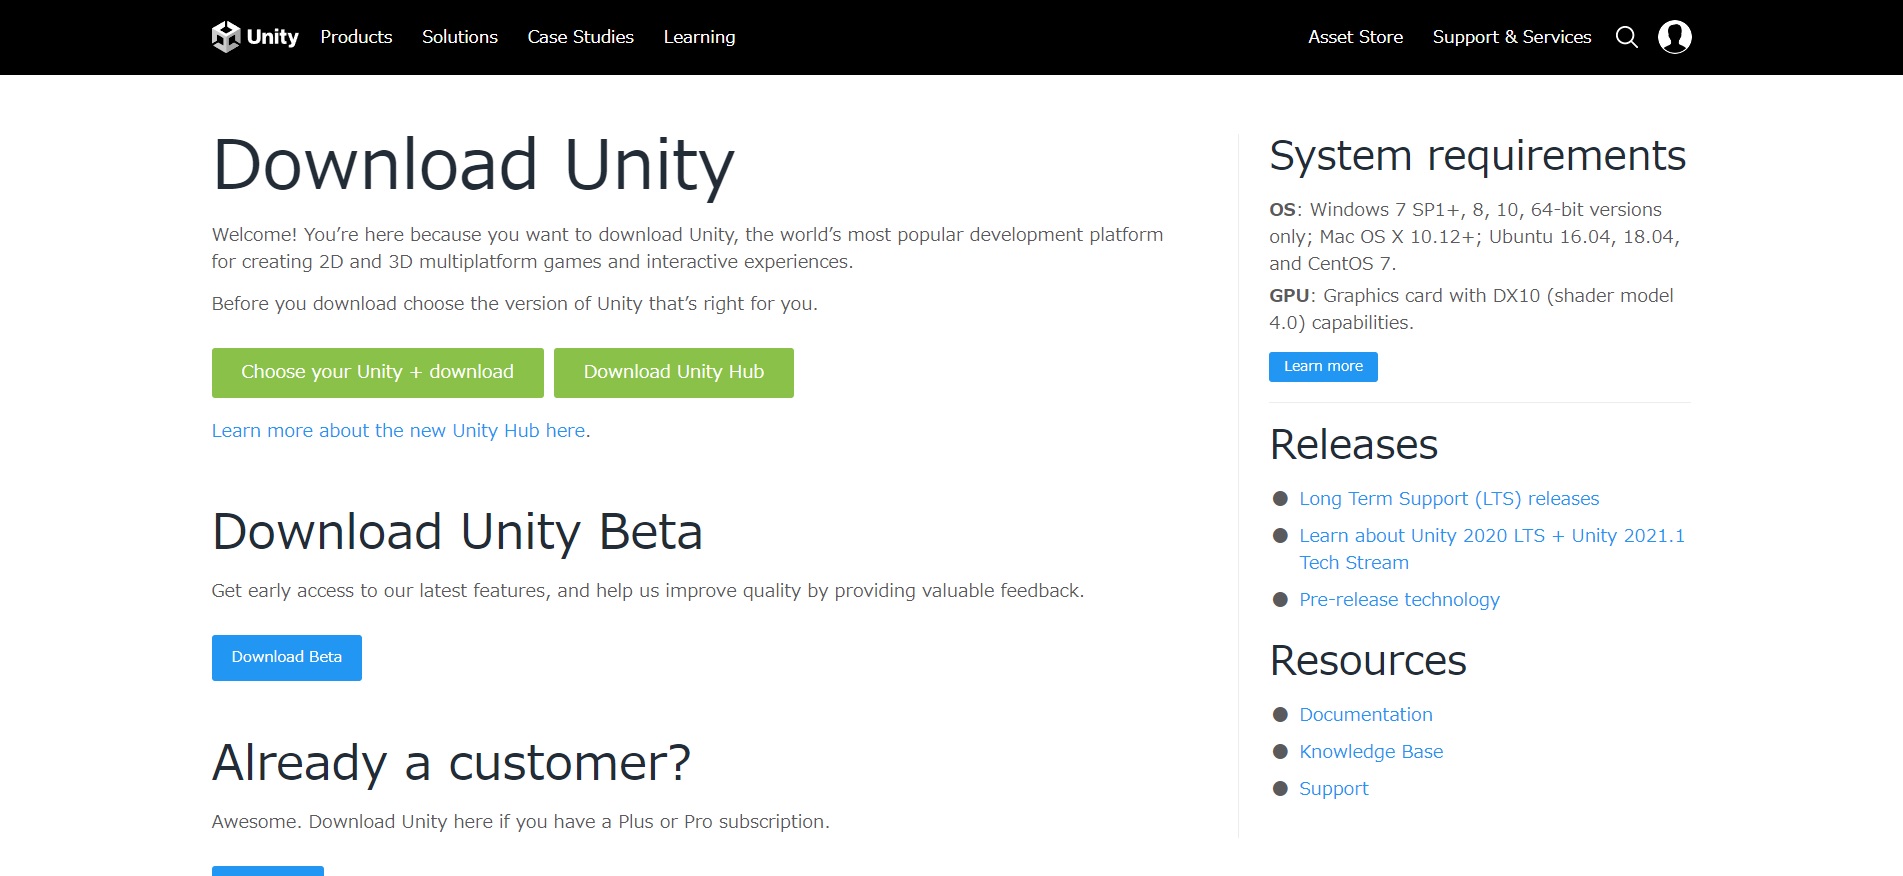
*You can download the Unity Hub from the official Unity website. You’ll end up downloading a file named “UnityHubSetup.exe”, so follow the instructions it gives to install it.
Next, we’ll open a project using the Unity Hub (launcher).
If you are using my sample project, select the following:

Next, let’s open up the PlayerSettings and make some changes.
Click the Edit > Project Settings button to open the Settings menu.
Select the Player tab on the left side of the settings menu.
From this menu, let’s check that the following settings are correct.
- For the Api Compatibility Level, check that .NET 4.x is selected
- For Active Input Handling, check that Input System Package (New) is selected

Once you have finished with the above settings, we are finished setting up the development environment.
|Setting Up the Server
Let’s use Strix Cloud to set up the server we’ll need for connecting players to the network.
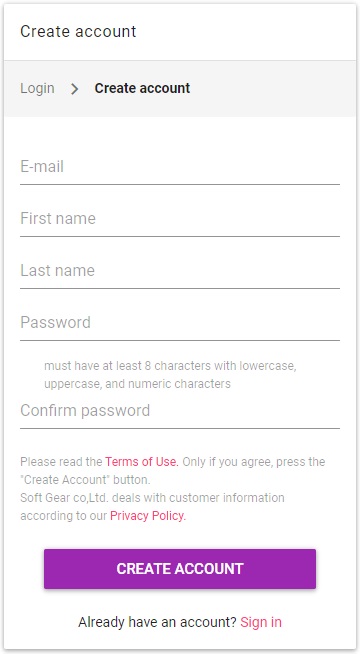
First, access the Strix Cloud Web Console and create an account.
Once you’ve logged into the Strix Cloud Web Console, the following screen will display.

First, let’s create an application. Applications need to be created for each project and are used to manage servers. Naming your application after your game title should make it stand out from other applications. Enter your application name and click the CREATE APPLICATION button to create your application.
After creating an application, your application will be added to your list of applications like the image below.

By clicking the application that you’ve just created, the server management screen will open. Since there isn’t a server set up yet for your new application, let’s add one. Click the CREATE CLUSTER button to bring up the cluster creation popup.

In the cluster creation popup, you’ll be able to set up your server. Let’s set up the following items:
- Cluster name: Sets the name of your cluster
- Server name: Sets the name of your server
- Region: Sets the region your cluster/server will be in
- Type: Sets up the server instance type (Performance varies by Type)
Lastly, by clicking the CREATE CLUSTER, you add your server to your application. Once your application has the green status icon like the image below, your server is ready to go.

With this, your server setup is complete.
|Installing and Setting Up the Strix Unity SDK
Next, let’s set up the Strix Unity SDK.
Let’s install the Strix Unity SDK which you can download from the Strix Cloud Web Console from the Downloads page.
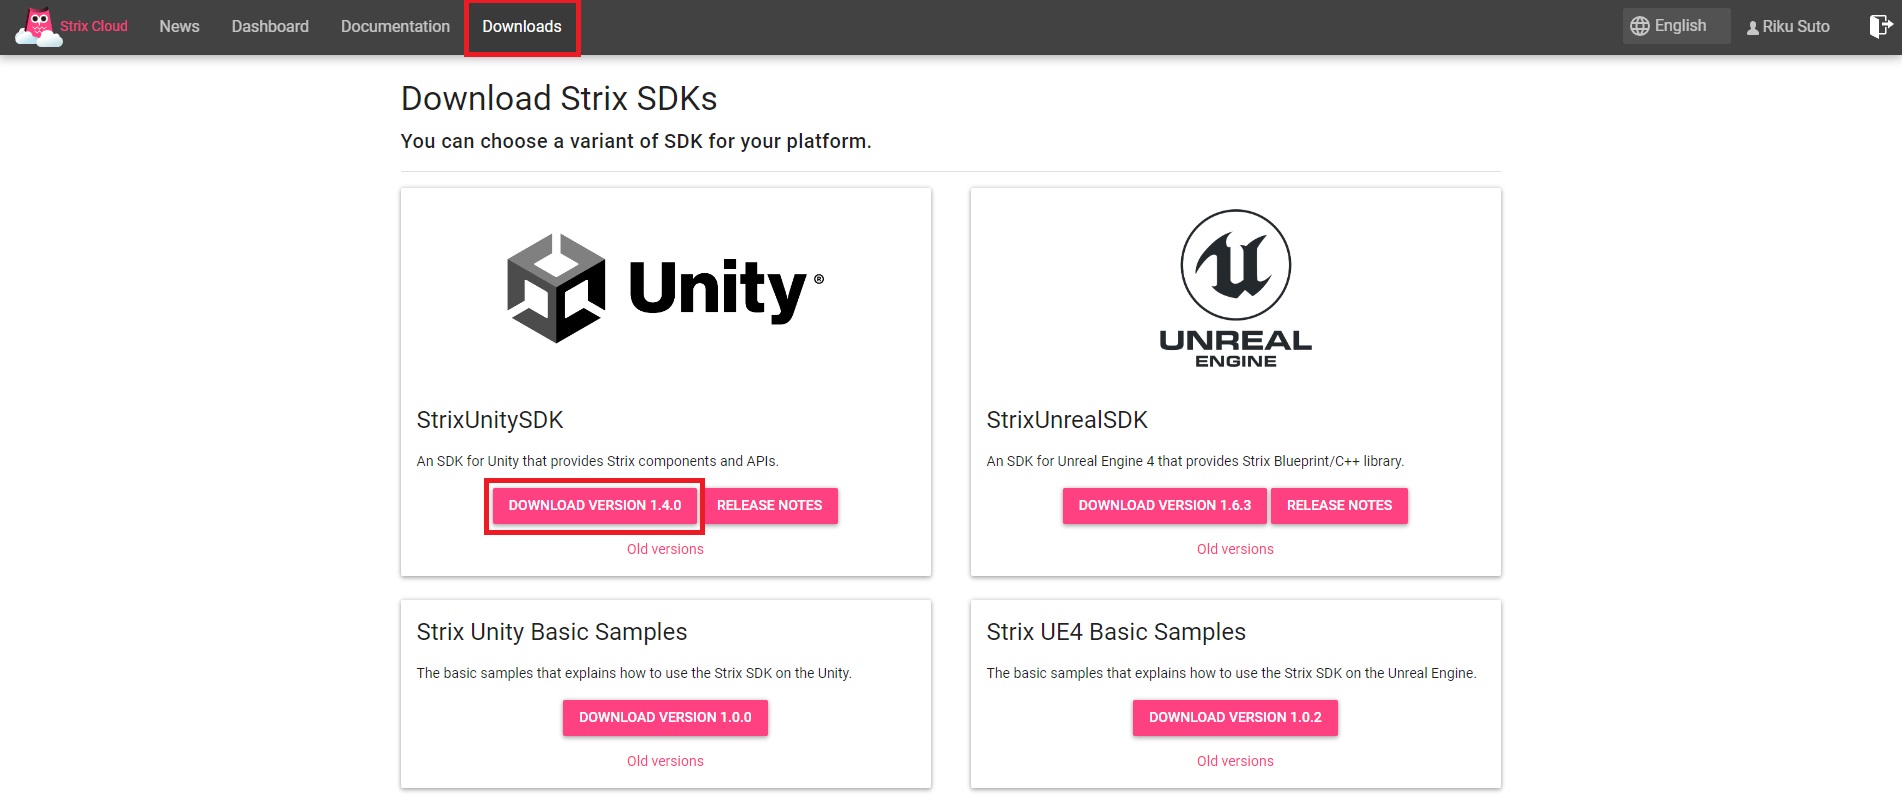
To import the Strix Unity SDK, from the Unity Editor, select Assets > Import > Package > Custom Package.
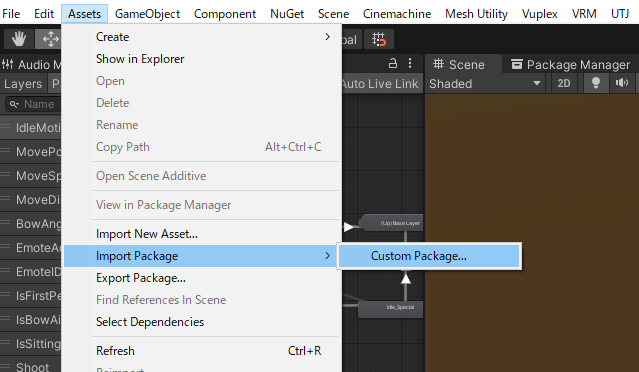
This opens the explorer where you can select the StrixUnitySDK.unitypackage that you downloaded.
(You can also import the Strix Unity SDK by double clicking the StrixUnitySDK.unitypackage.)
A menu will pop up like the one in the picture below, so check the contents and then click the Import button in the bottom right. Once you click it, all of the items that had a checkmark to the left of them will be imported. If there are any items that don’t need to be imported, you can uncheck those items before importing.

Once imported, the Strix plugin dll and prefabs will be added to your assets.
Next, we will set up Strix Cloud on the client side.
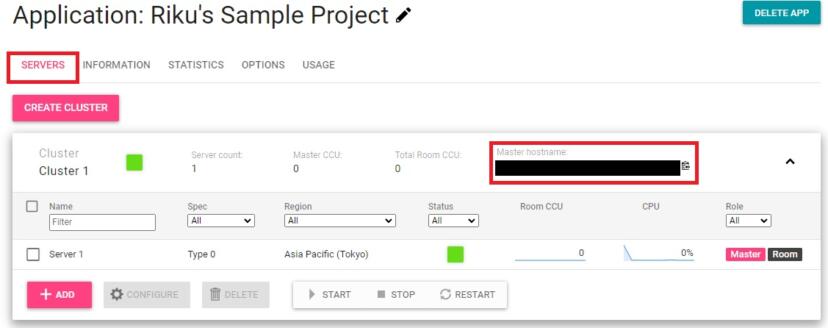
Go back to the Strix Cloud Web Console and copy the Master hostname and Application ID.

Now, return to the Unity Editor and open Assets > Strix > GUI > StrixConnectUI.prefab.
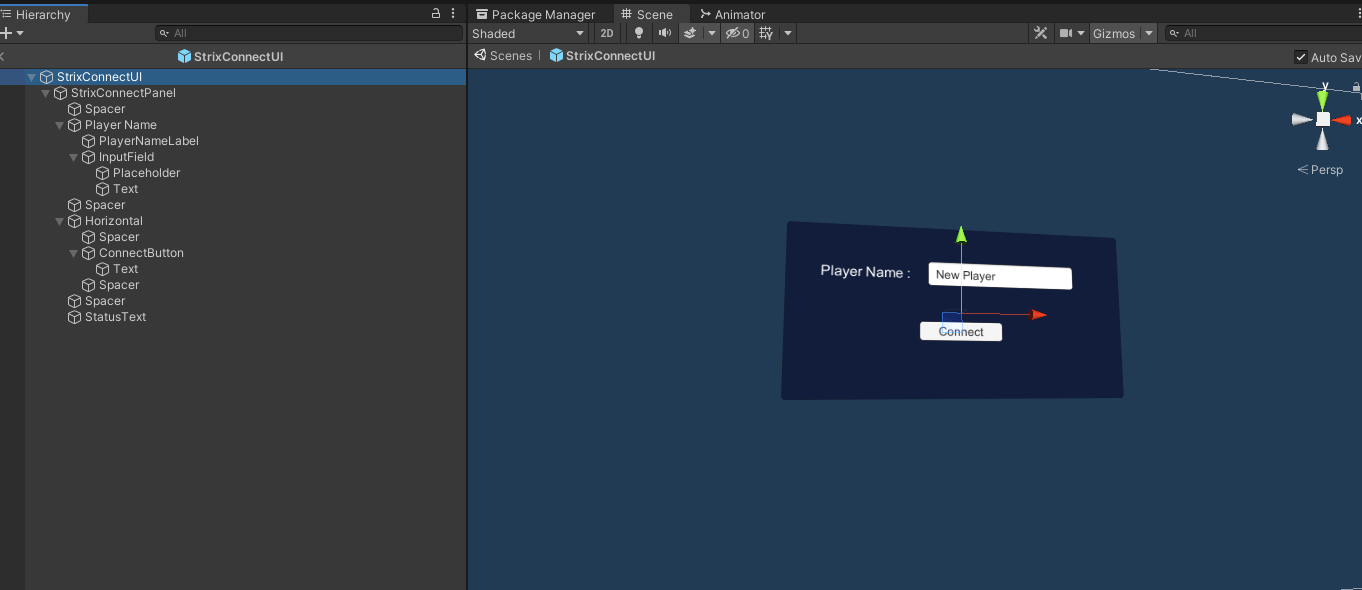
Inside this prefab is an object called StrixConnectPanel that we are going to select. On this object is a script component called StrixConnectGUI and this is where we are going to replace the Host and Application id parameters with the Master hostname and Application ID we got from the Strix Cloud Web Console.
- Host: Master hostname (〇〇〇〇〇.game.strixcloud.net)
- Application id: Application ID (〇〇〇〇-〇〇-〇〇-〇〇〇〇)

After finishing setting this up, let’s place this prefab into the SampleScene and then click the play button.
By default, Riku’s Sample Project has a function to fix the mouse cursor to the center of the screen. By pressing the Alt key, you can toggle between having the cursor fixed or not, so let’s press the Alt key once to release it from being fixed so that we can press the Connect button. As shown in the image below, if the editor’s console shows Connection established, then we have successfully established a connection.

And with that, we have finished setting everything up!
|Riku’s Question Corner: “When using Strix Cloud, why is it so easy to connect to a room server?”
Riku:
“Hey, Apollo. By using Unity and Strix Cloud I was able to easily connect to a room server, but why is that?”
Apollo:
“Riku, great question! You can find out all about this by watching the video below!”
Episode 6 — Server Setup and Animation Synchronization (2:55)
>>Next blog Let’s Set Up a Code Editor in Unity | Practical Guide Ep. 2

