Strix Cloud Setup
The following guide will show you how to set up a Strix Application. A Strix Cloud Account is required in order to make a Strix Application.
Note
You can access Strix Cloud by the URL: https://www.strixcloud.net.
If you don’t have an account yet, you can register on this page.
If you want to know more details on using Strix Cloud, see Strix Cloud User’s Guide.
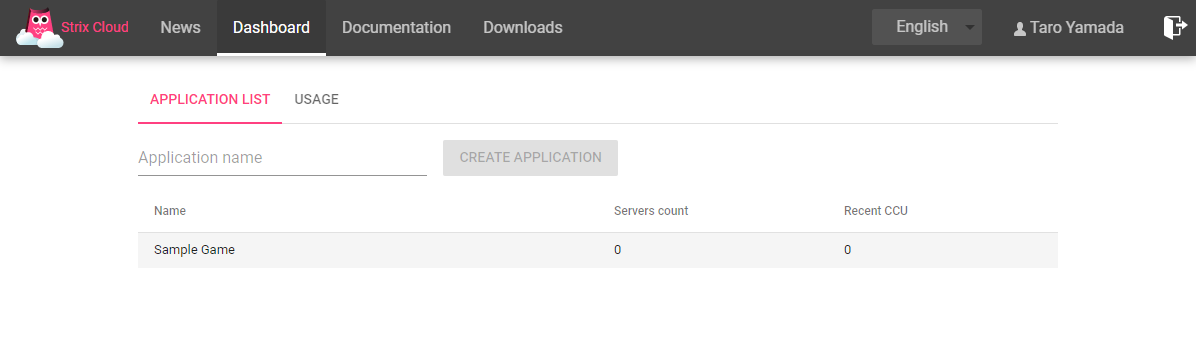
The Strix Cloud makes it easy to set up a game server from the web console screen. The first time you log in to the Strix Cloud web console, you will see the screen below.
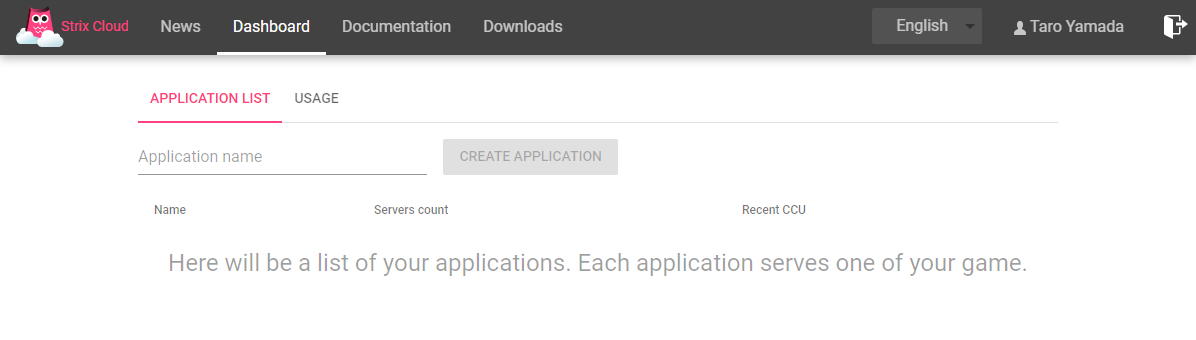
First, create an application. An application is used for managing the server for each project. Enter an application name and press the Create Application button to create an application.
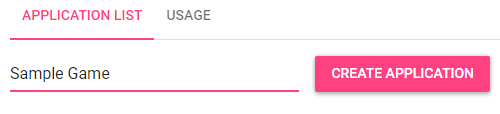
When an application is created it is added to the list.
When this application is selected, it will transition to the application details screen.
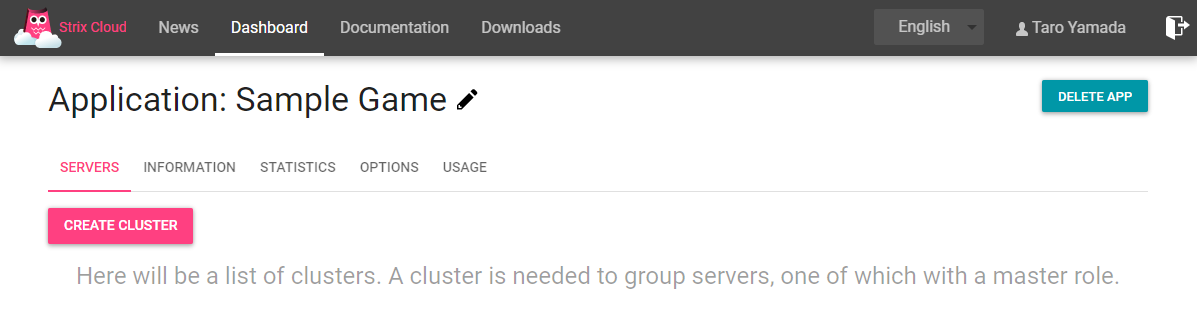
This screen allows you to manage the server. There are no servers for a new application so we will add one. When you click the Create Cluster button, the following pop-up is displayed.
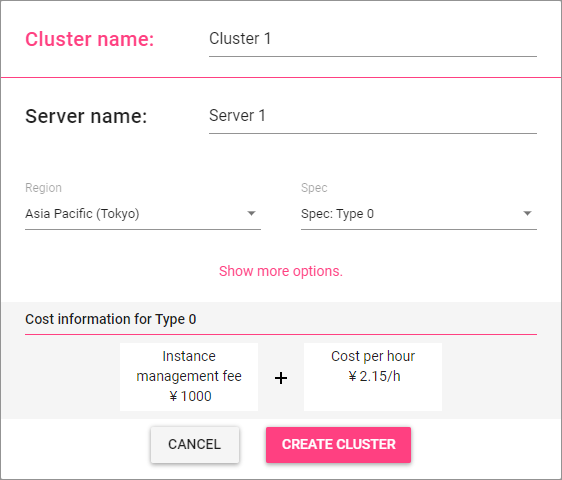
This pop-up allows you to set the display name and select the server region and spec. Set it to your desired values and press the Create Cluster button to add the server. The server is ready when the server status icon lights up green.
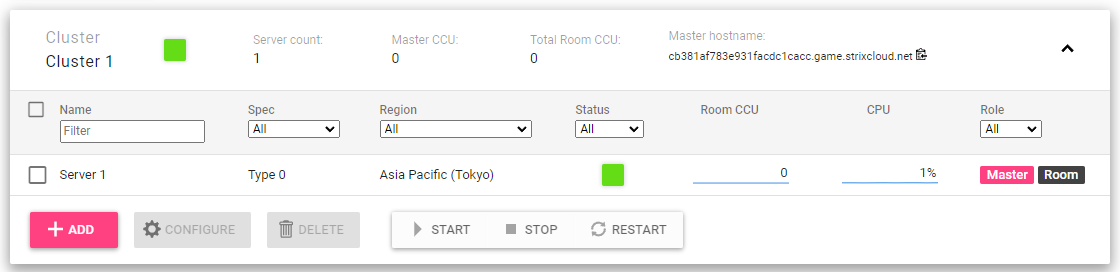
This completes server preparation.
You can press the Add button to increase the number of servers or press the Create Cluster button to create another cluster. When server load is high, you can scale out dynamically by adding servers.
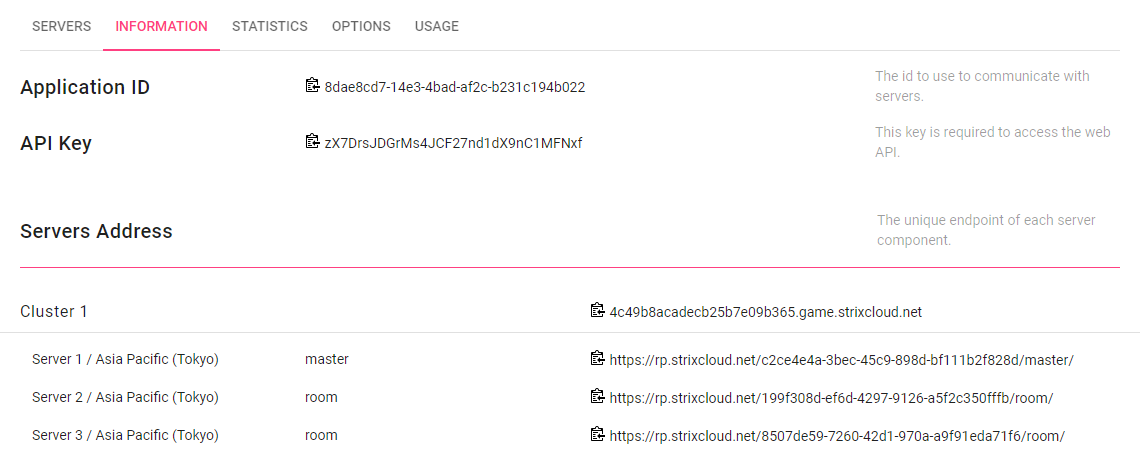
On the Information tab of your application, find the Application ID, API Key, and the Server Addresses for each server you have. This information is required to connect to your server from games or web apps.
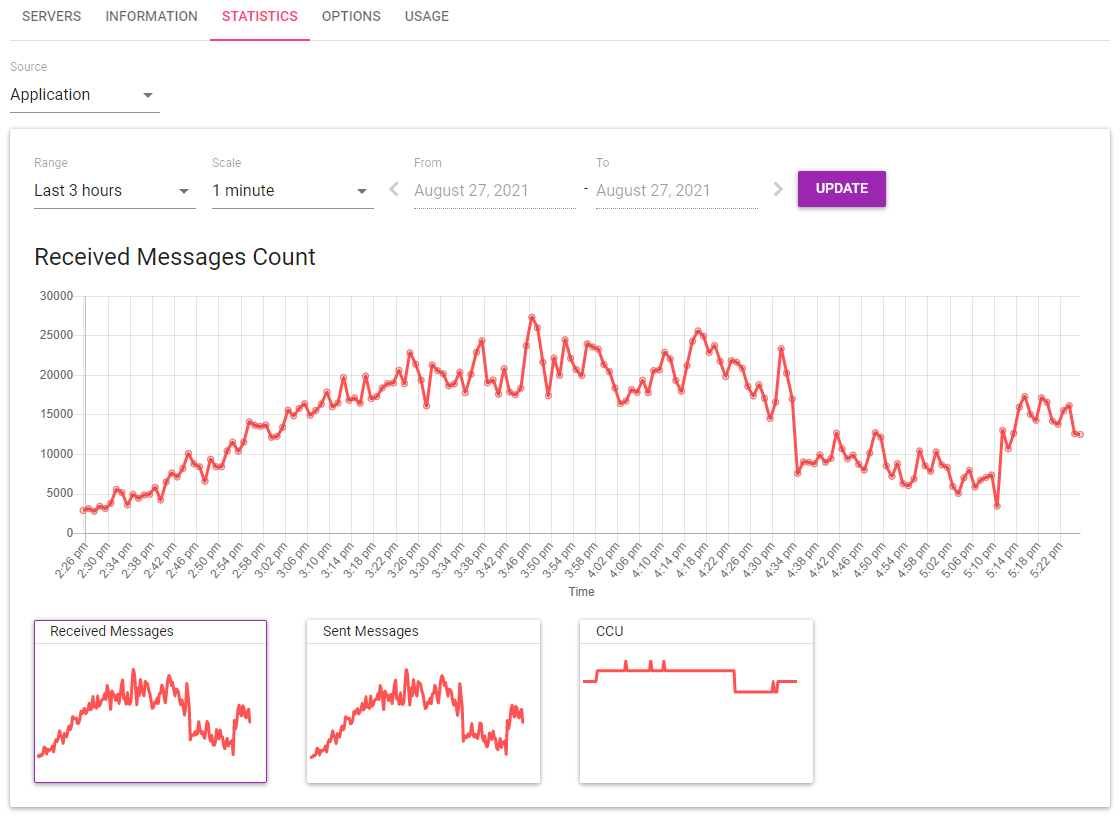
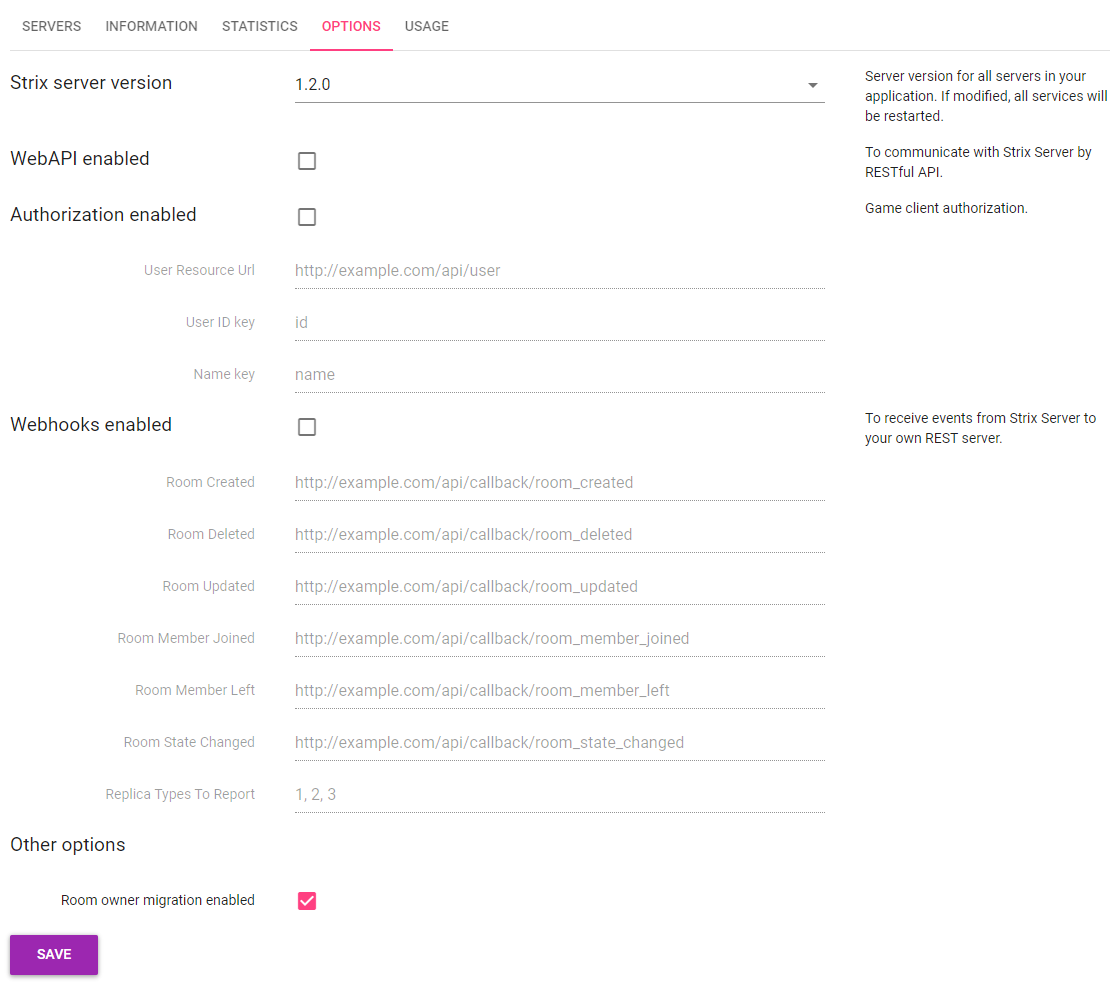
You can also check server details, check statistics on graphs, set options, etc. on other tab pages.