Connection
Let’s start our exploration by examining the Login map.
Open the Content Browser.
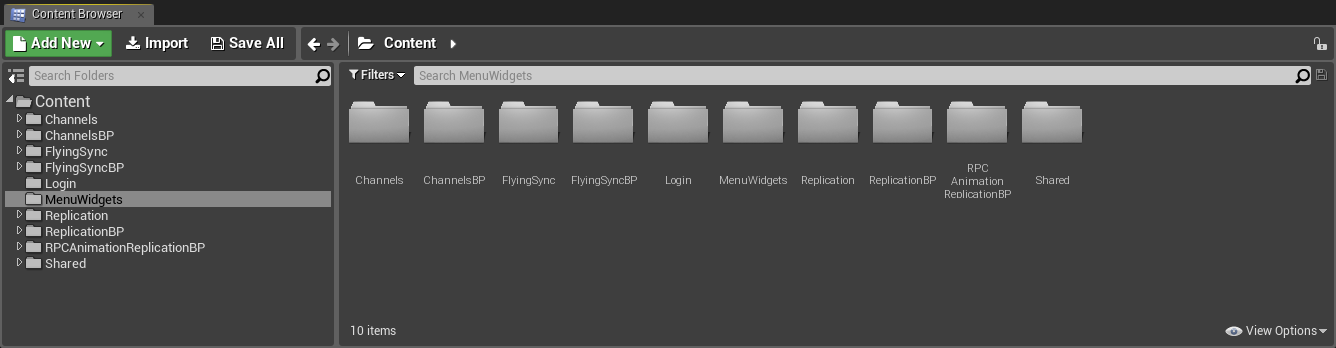
In the Login folder, open LoginLevel.
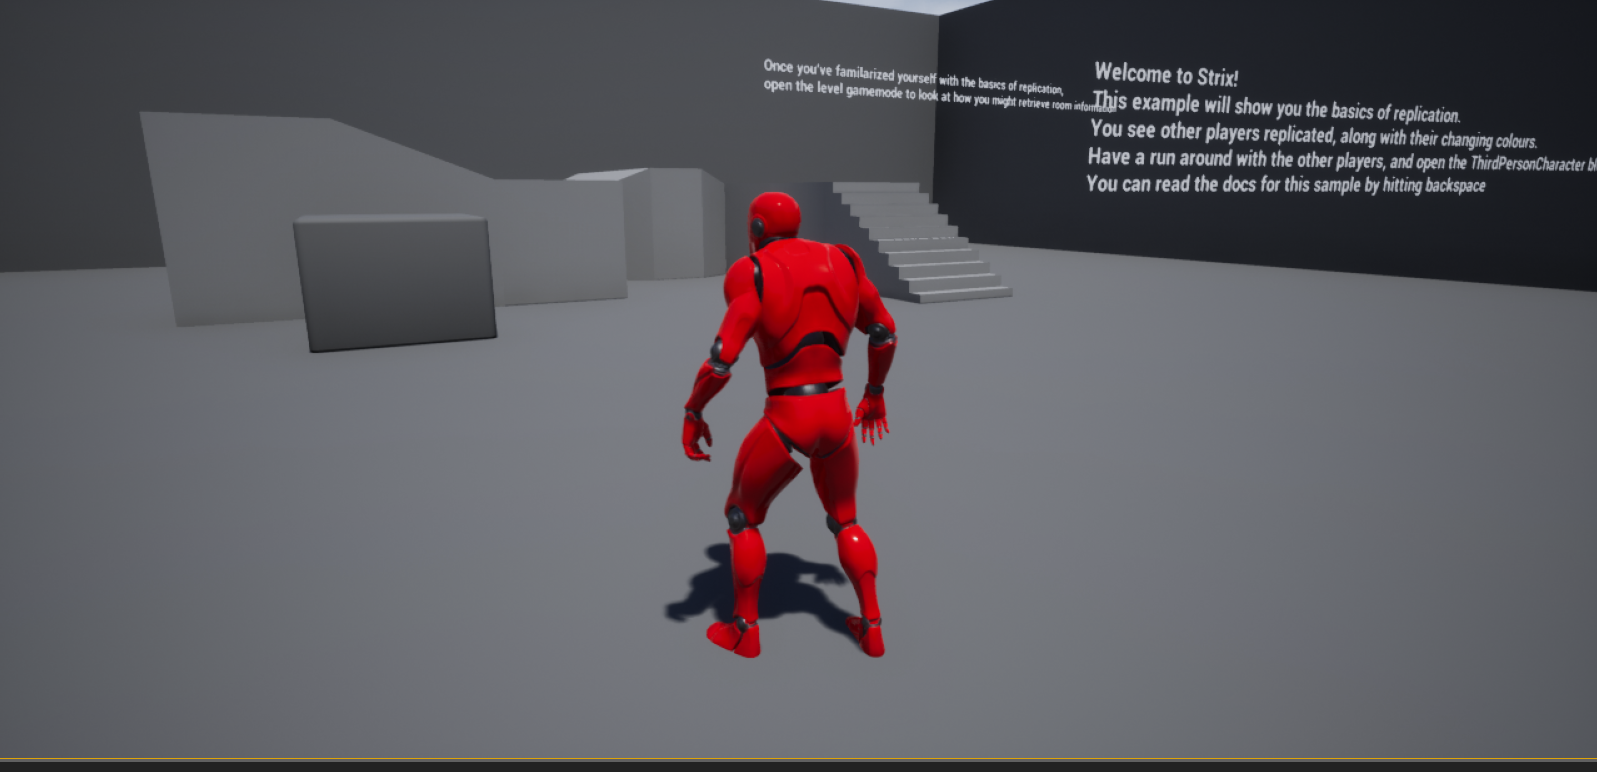
Hit Play to start up in the login menu.

This login menu is where you will log in if you have authentication enabled. We don’t have this set up for the sample, so instead you can enter any username, which will be your player name. In addition to the player name, you will need to add your hostname and application ID. You can find your server’s hostname (called Master hostname) on the Servers tab of the application dashboard for your server on the Strix Cloud, and your Application ID on the Information tab. Once typed in, the hostname and application ID will be saved for your next launch of the game. Hit Login to move to the main menu.
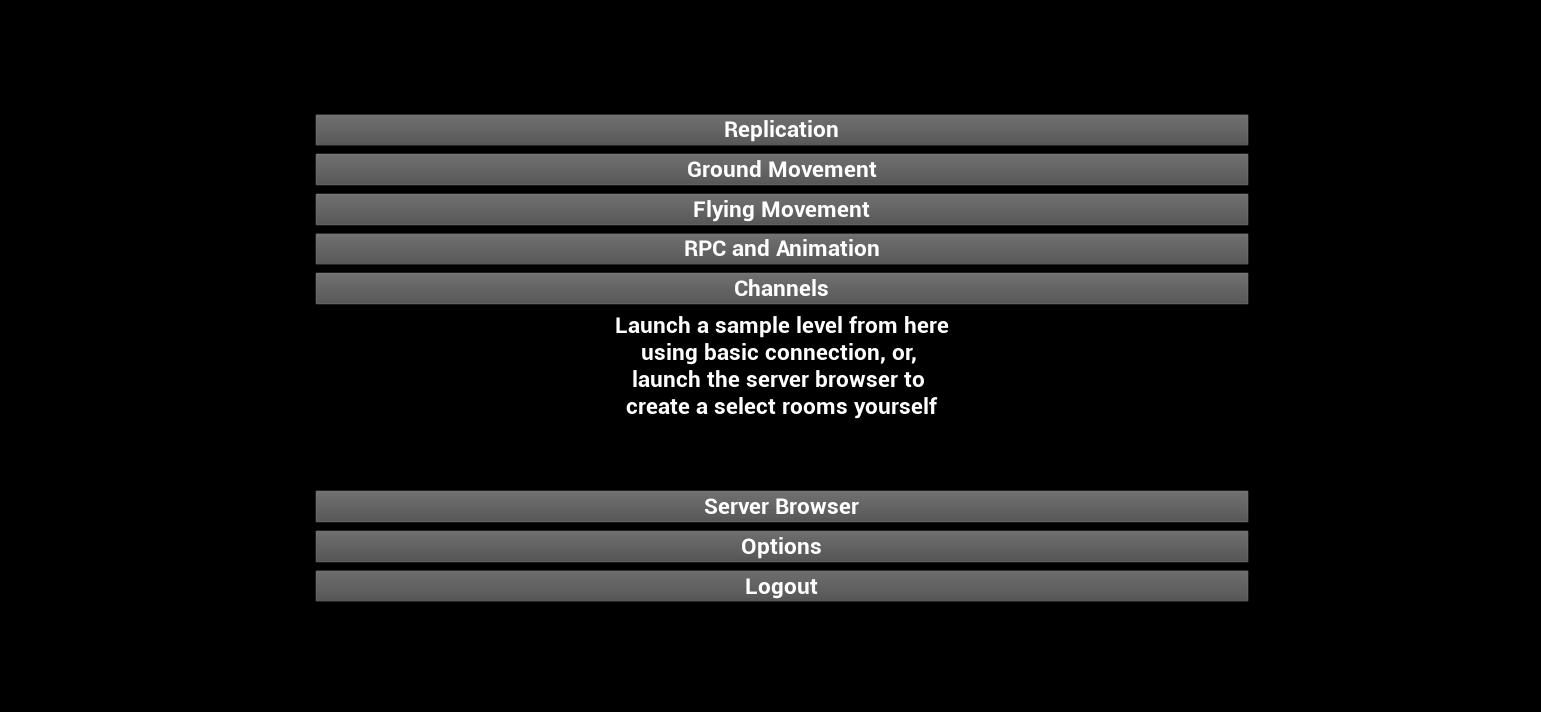
The main menu has several quick launch buttons. These will launch the chosen level by joining a random room or creating one if it doesn’t exist. Use these buttons to quickly jump back into levels you want to review. Other than the quick launch buttons, we can set options in the options menu, return to login, or access the server browser. For this tutorial, we will move to the server browser.
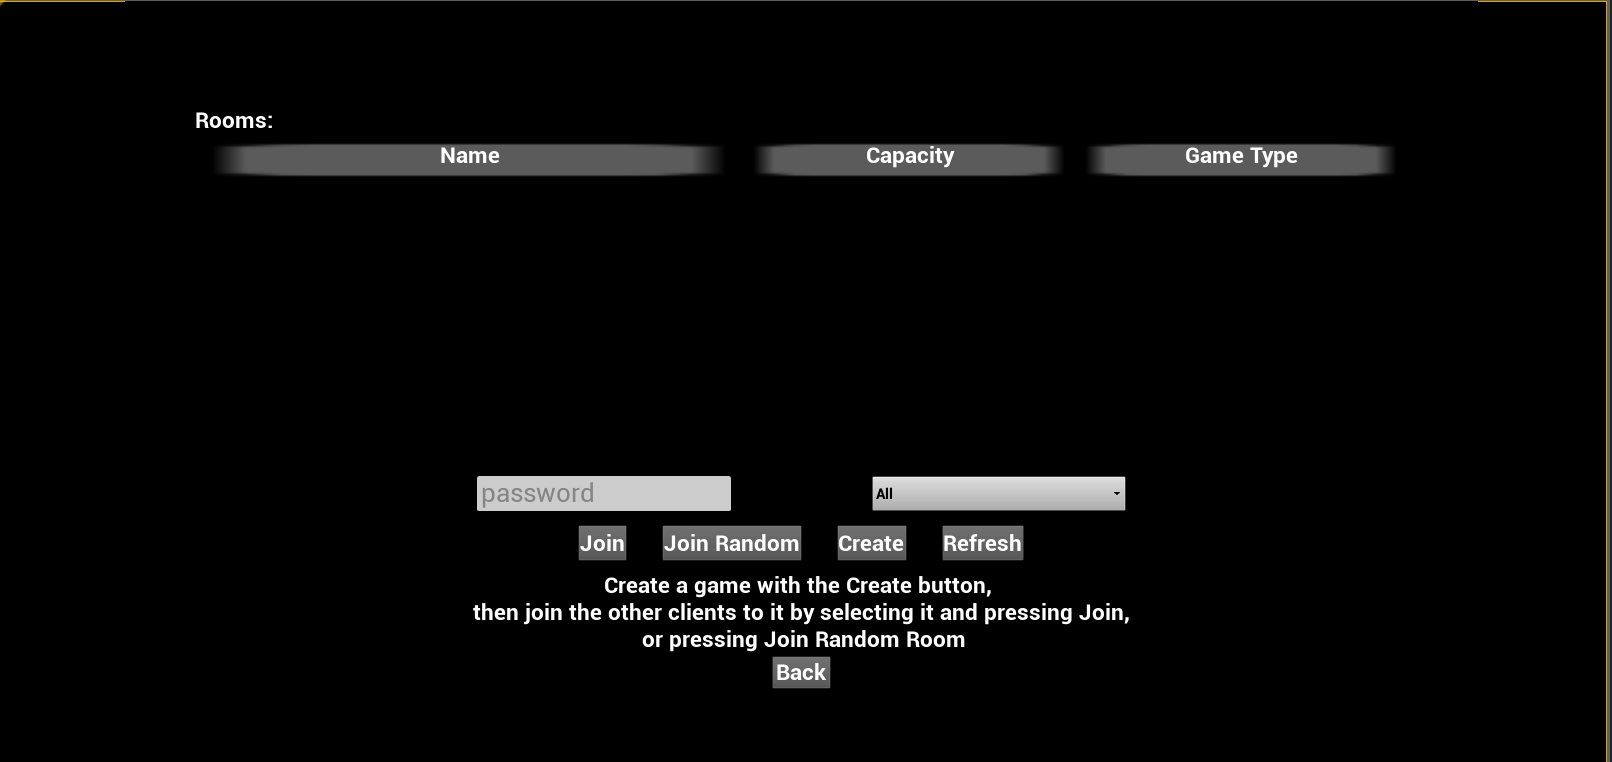
On the server browser screen, it shows the list of current rooms with some filters and the Join, Join Random, and Create options. There will be no rooms on the server as of now, so let’s create one by clicking the Create button.
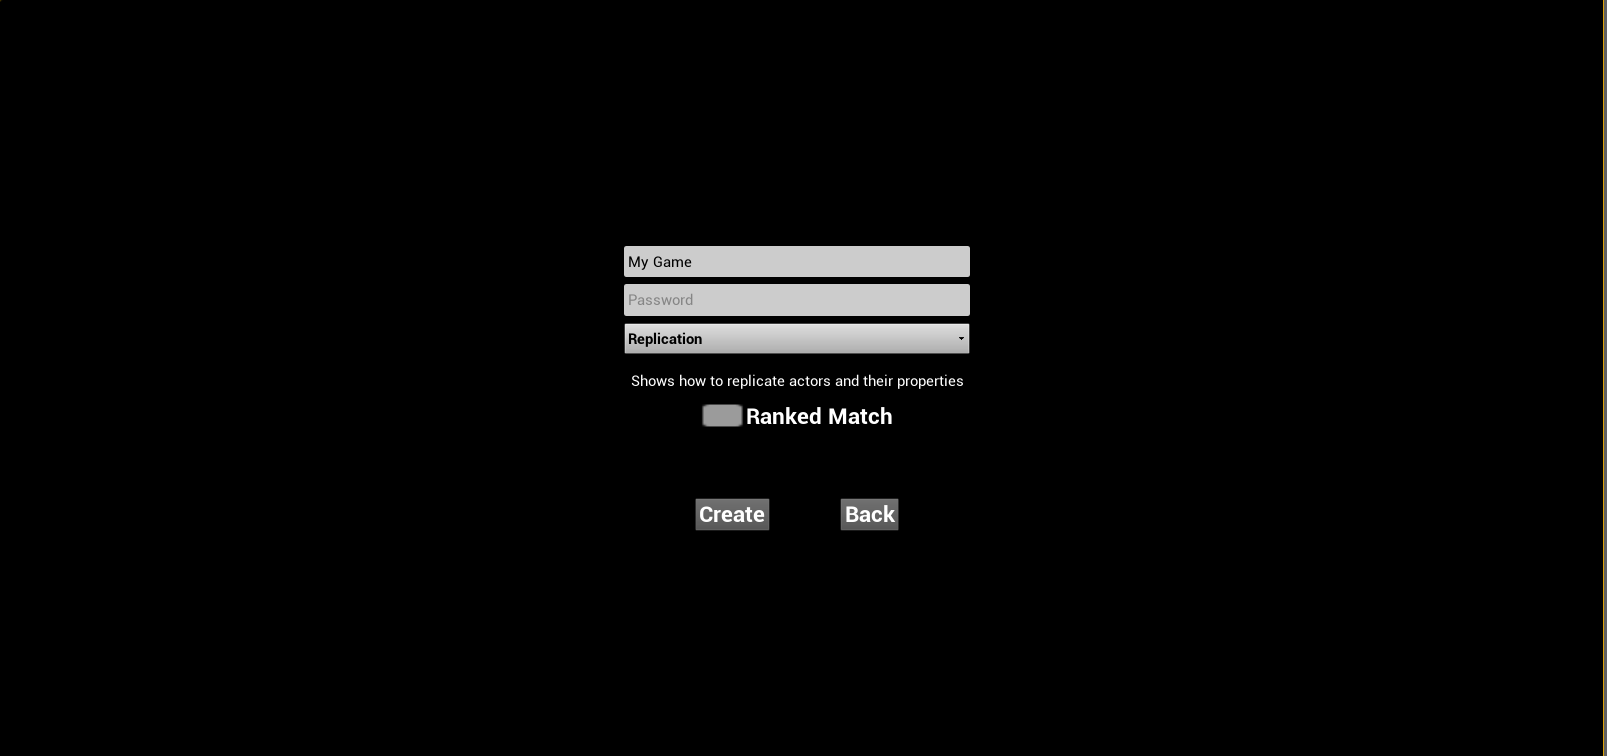
On the create room page, we have a few options. Leave them as is and click Create. This will move you to the first map. On the second player’s screen, if we refresh the server browser, you will see the newly created room and will be able to join it.

Before we start playing around in the map, let’s look at how Strix performs its initial room searches and connections. Stop the game and open the Login widget in the MenuWidgets top level folder.
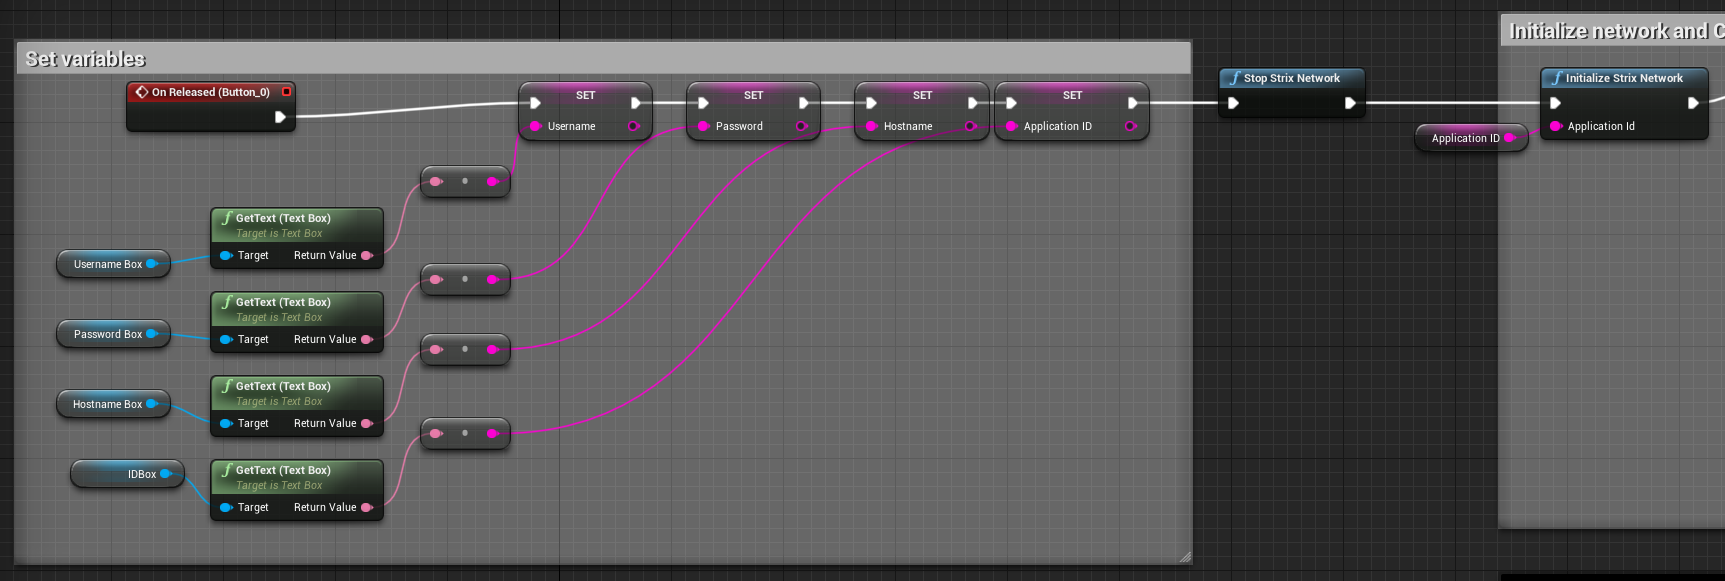
Let’s go to the graph for this widget. You will see that on release of the login button, we collect the user input for the input variables. The first Strix function to be called in a game is Initialize Strix Network, which takes our Application ID. However, the player may click the Login button multiple times, so we start by calling Stop Strix Network function instead. (Stop Strix Network does nothing if the network is not started yet.)
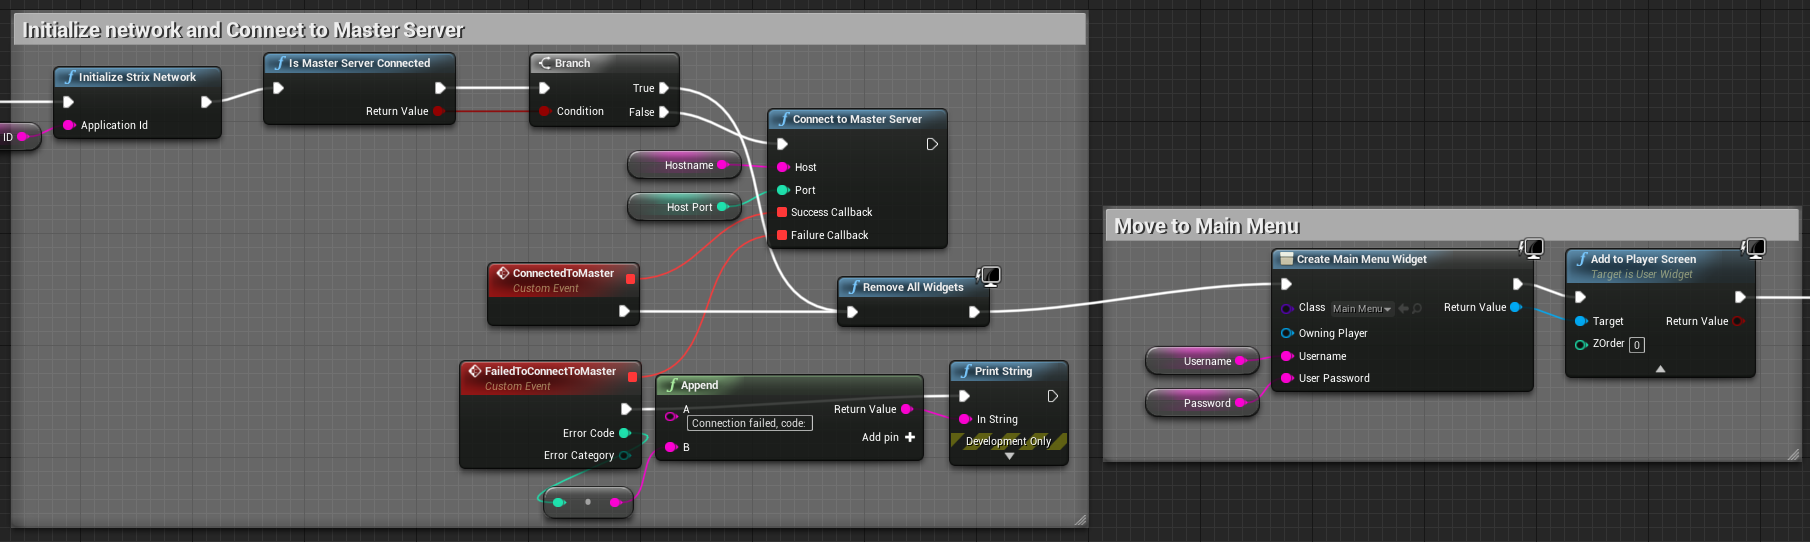
After this, we check if the Master Server is connected with the function Is Master Server Connected, and if it is not, we try to connect. Many functions in Strix take callbacks, and here we have a success and failure callback. If we connect, we move to the next screen, otherwise we just print an error.
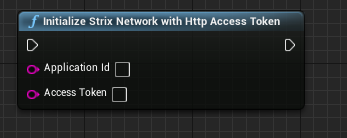
We always need to be connected to a Master Server in Strix to be able to use network functionality. It’s up to you where you want to perform this connection, but a login screen is a good choice as you are likely making use of a username/password system. Strix can take an HTTP access token when initializing the network which lets you integrate this functionality. You can configure the authentication on your Strix Cloud page.
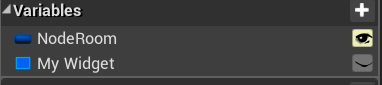
We will skip the main menu and options widgets, as these are not relevant to Strix. Open the ServerBrowserRoomItem and RoomItemWidget.
These widgets represent the room items in the server browser. The ServerBrowserRoomItem contains the Strix’s NodeRoom information for the item, and the RoomItemWidget contains the visual representation of that item.
These widgets get filled in by information from the server browser. Let’s look at it now. Open the ServerBrowser widget.
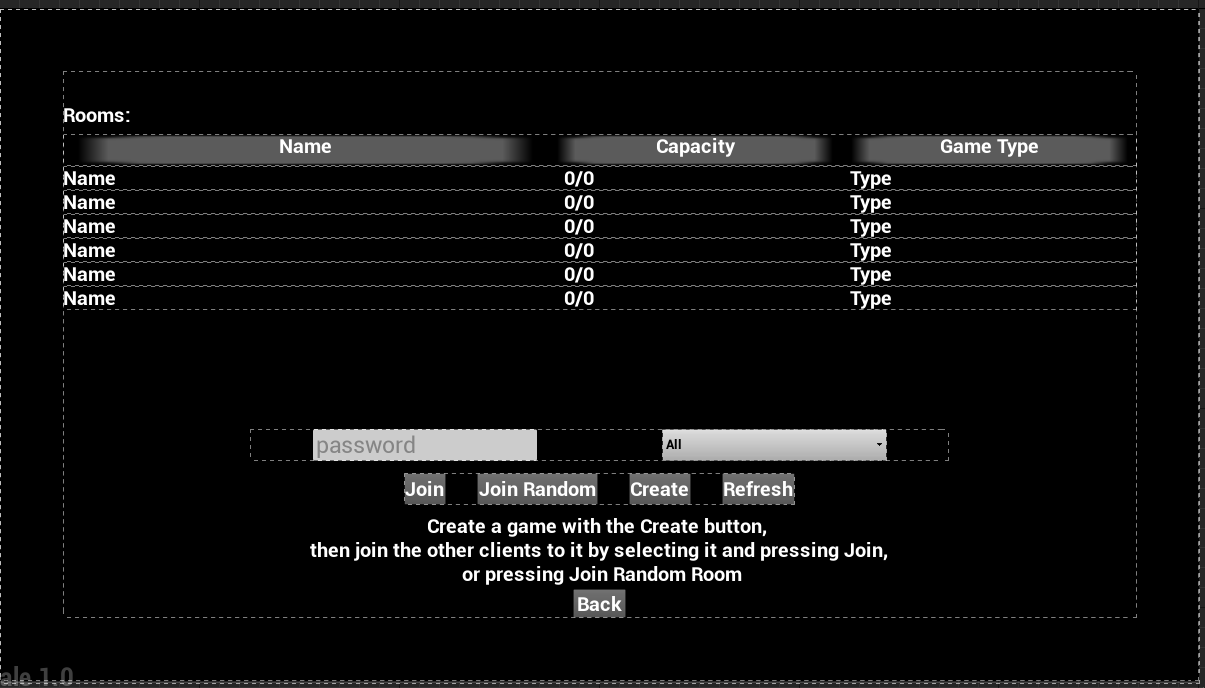
Here we have a few items to look at. The top of the screen has the Rooms list. Below that, there is a password box to fill in if joining a room requires a password. To the right of that is a drop down that filters by All, Unranked or Ranked. Below those are the Join, Join Random, Create and Refresh options.
Note
Ranking isn’t a Strix defined property, nor does it apply in this sample. It is just an example of how you can implement a custom property in your rooms to filter results.
If you move to the graph, you can see the logic for this browser. It’s a bit complicated but shows how you can use Strix’s features to filter searches and connect to specific rooms. Our process here is:
Create the properties for this member
Create our search conditions
Search for rooms matching those conditions, and translate that data to the server browser so the user can see it
Join the room the user selects, or a random room from the list
Let’s go over each step in turn:
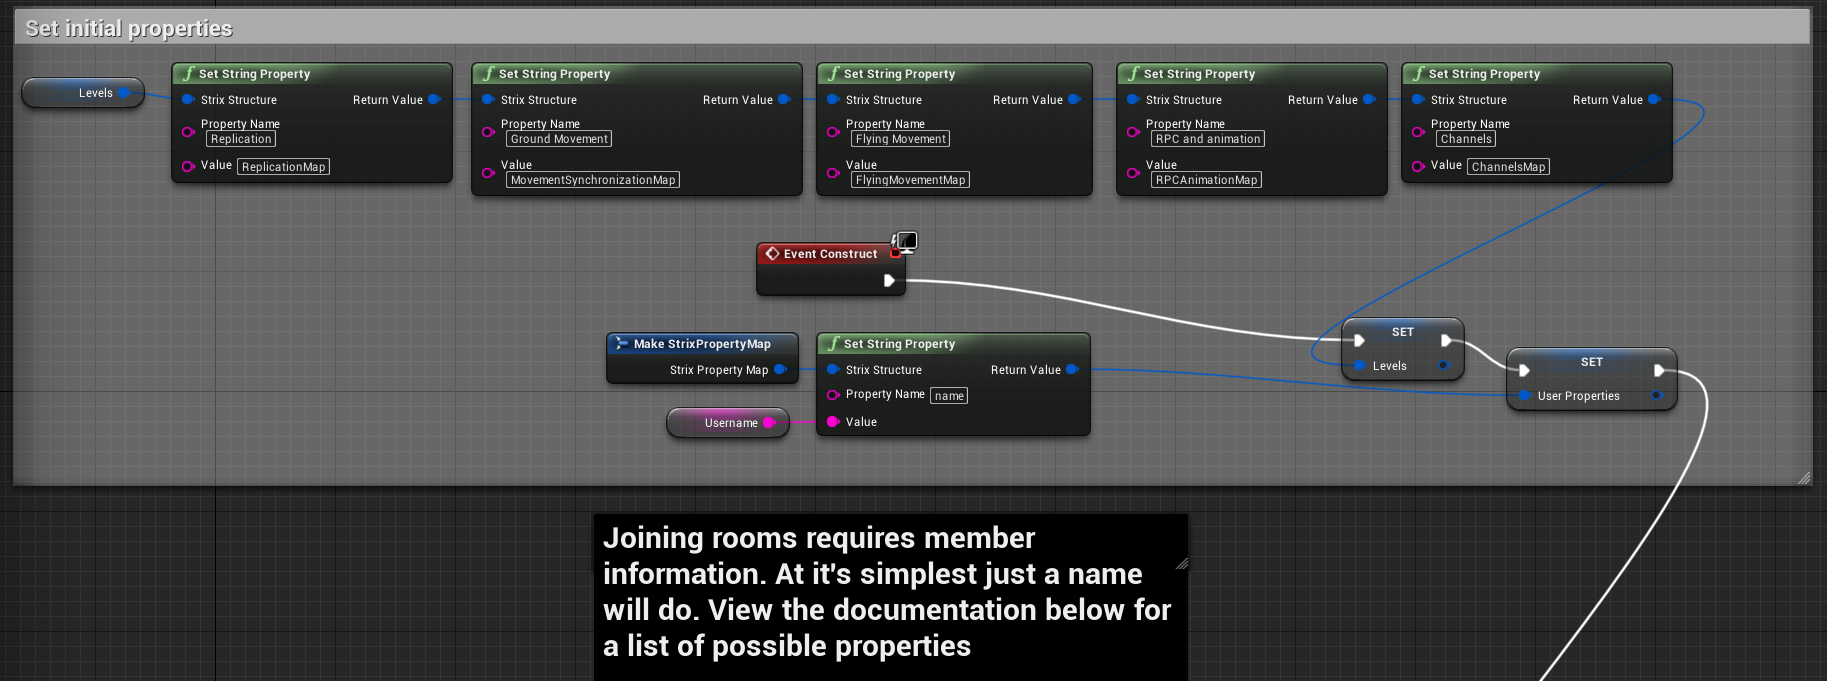
Find the Set initial properties section. Here we set the member properties and some level names. We have a Strix Property Map called Levels. This is just storing a map of visual level names to actual level names (a bit cleaner than Unreal’s Map). In the User Properties variable, we set a String property name which is our player name we inputted in the login menu. (See Room Members for other member properties.)
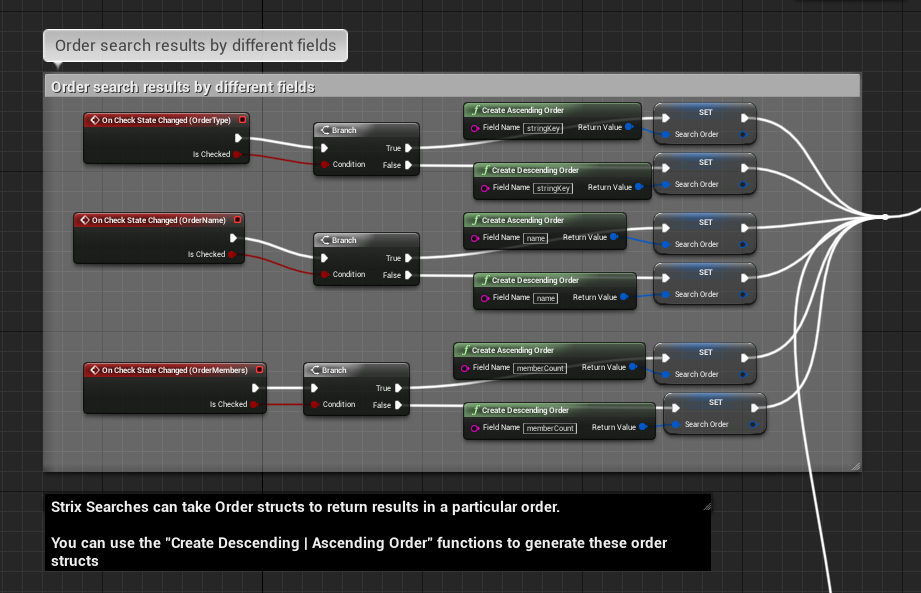
Find the Order search results by different fields section. Here, we decide on the order to return results. We have a few buttons that can be toggled, and these create ascending or descending orders through Strix functions and set the Search Order variable.
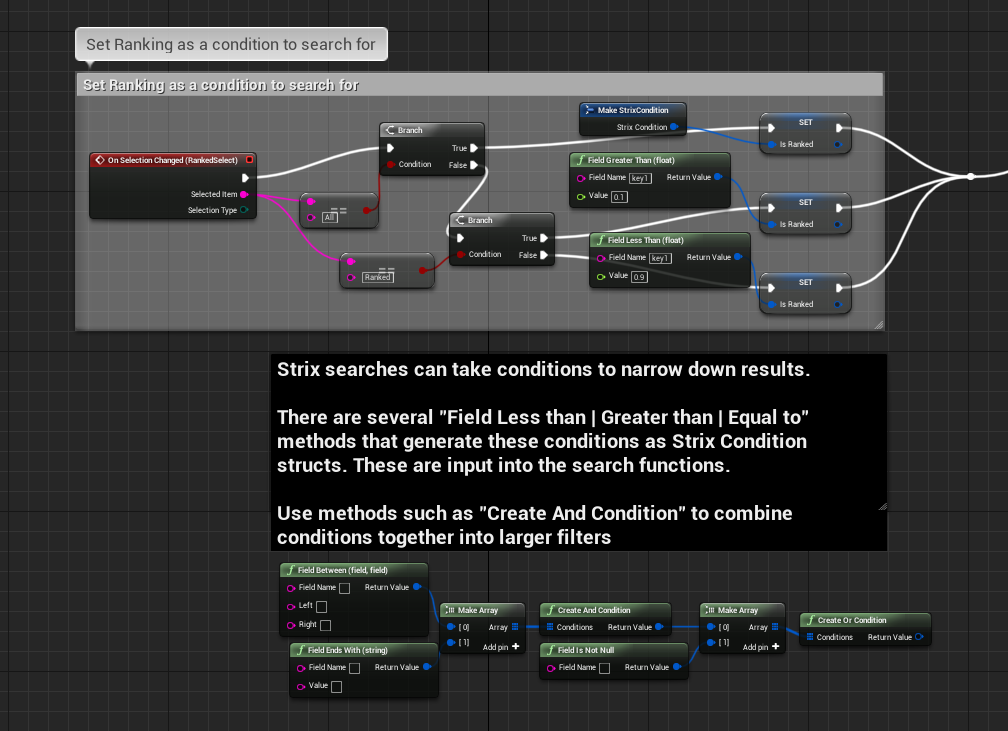
There is also a Set Ranking as a condition to search for section. Here we get the value of the ranking drop down and set a Strix Condition value. Strix Conditions take conditional values such as Field Greater Than, etc. We have a key1 value here: this is our indicator if a room is Ranked or not. This is arbitrary, and it’s up to you what kinds of fields you want to set and how you will search for different rooms. However, Strix provides a few specific fields such as memberCount and name. There is a list of all available fields in the Rooms Overview section.
Strix allows you to combine search conditions to make more complex filters. Typing “Field” in the create node menu will show you the different conditions available.
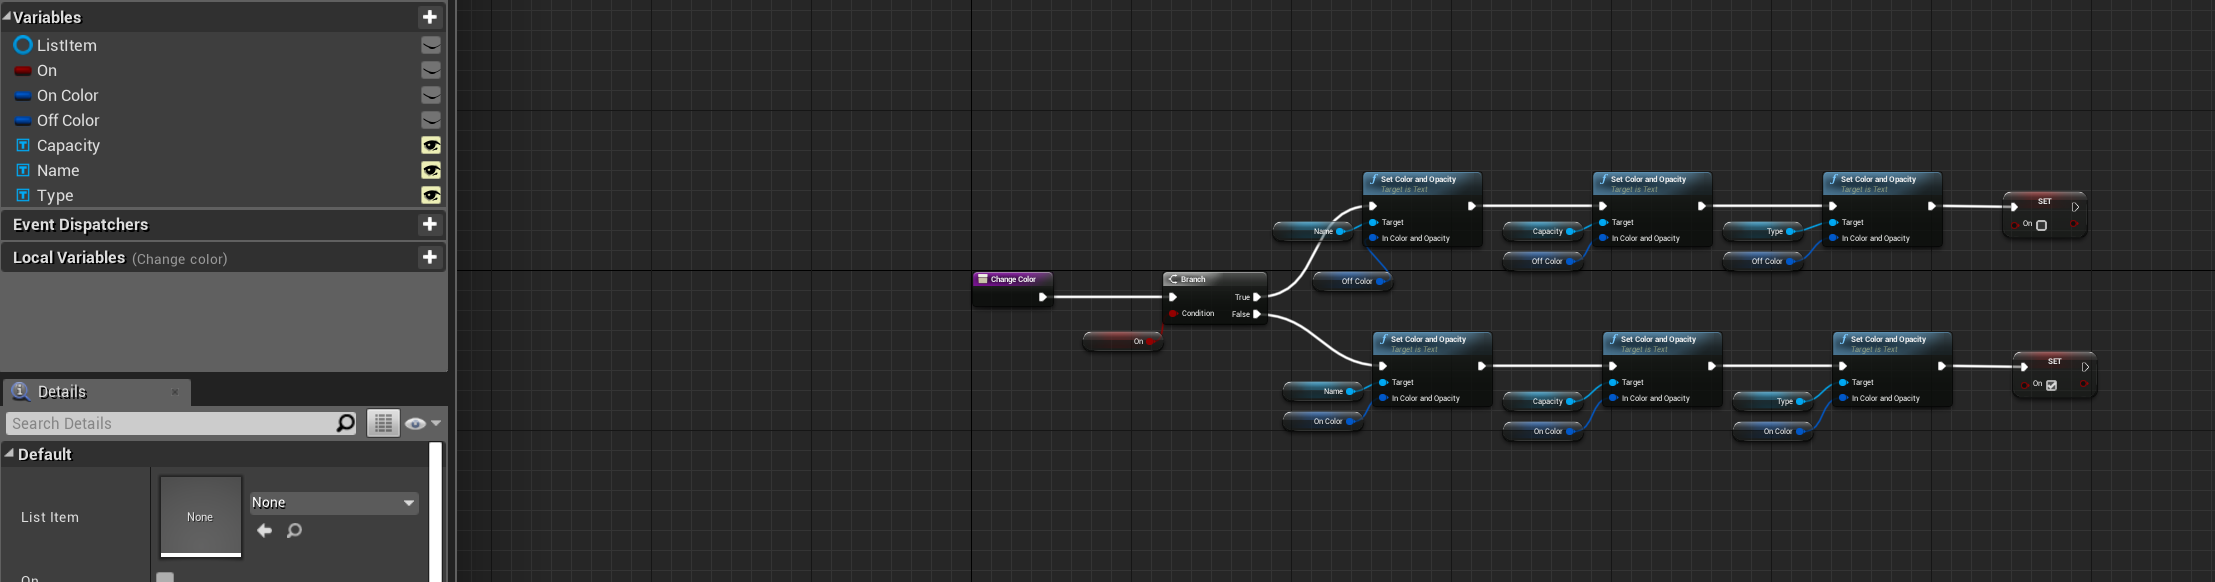
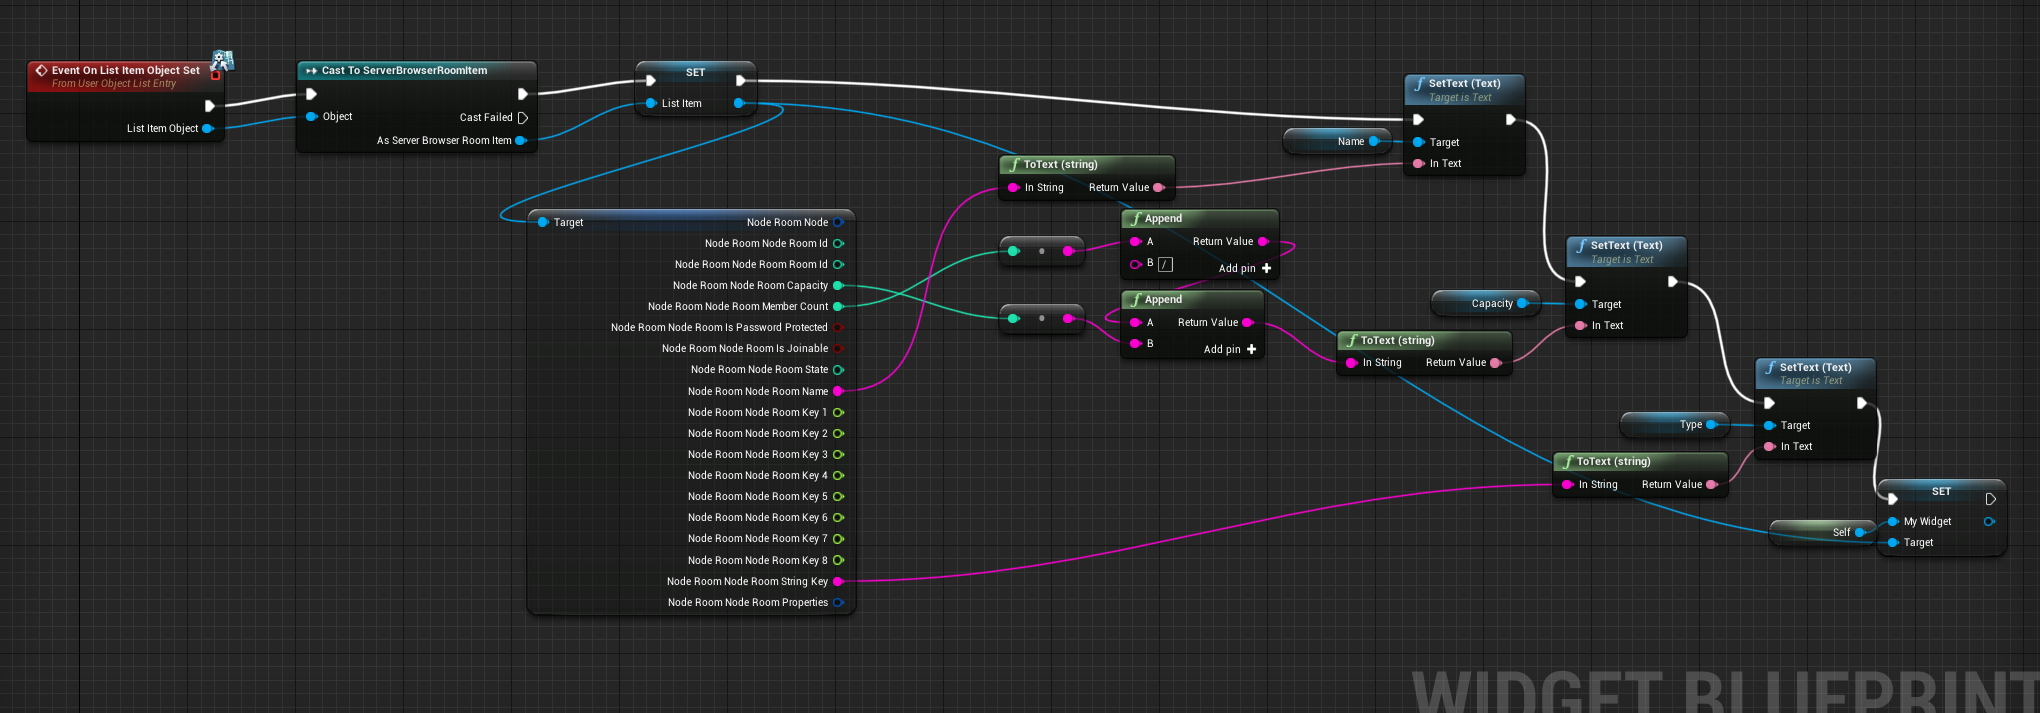
Our construction script for our RoomItemWidget takes the stored Node Room Info and sets the relevant variables for the widget. We can see all the properties available, including a custom properties map extension.
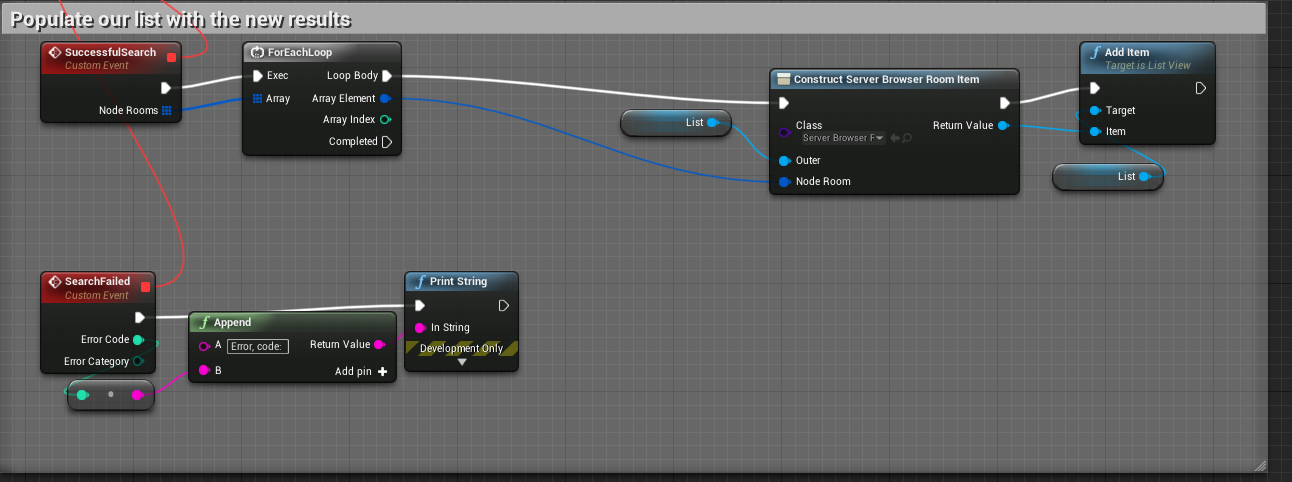
Every time we update our search conditions or refresh the browser, we call the Search Node Room function to find all the rooms matching our current conditions. This takes our selected conditions, order and some limit and offset for the results. Here we just want all the matching results, so offset and limit are set to 0. On a successful search, our callback will trigger, and we will receive a list of Strix Node Room Info structs. We then loop over this array and construct our room items and add them to the list so that users can see the available rooms.
Note
There are a few different Strix Search functions. Here we are using Search Node Room, which returns a list of all the rooms we can find, on every Room Server, along with their Room Server information. You can search for just room servers instead, or rooms on one given Room Server. This depends on how you want to structure your server architecture/how you want your users to connect to rooms.
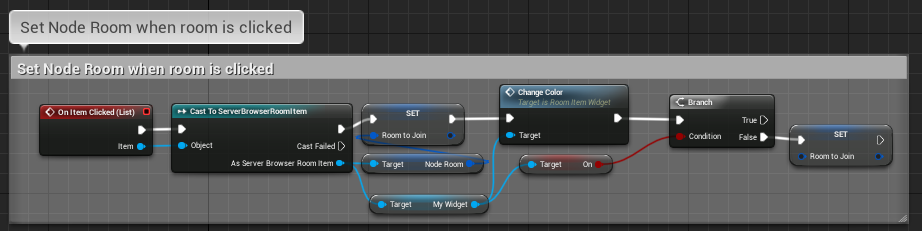
Searching is nice and straightforward, and most of the complexity here is because we have to translate the data to a visual representation. Once we have a list of available rooms, it’s easy to connect to one. When the player selects a list item, we have a callback that sets the Room To Join variable to that room. When the player clicks Join, we use that room. On Join Random, we connect to a random room from the list.
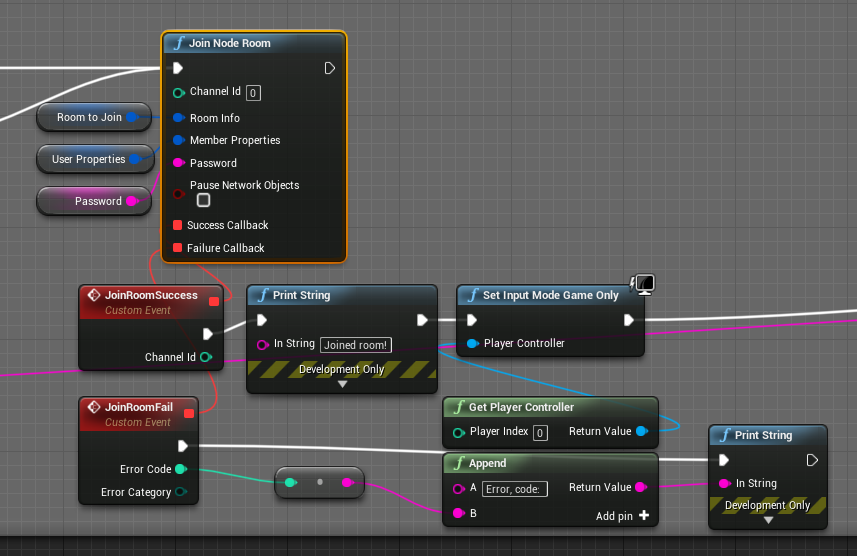
To join a room, we call the Join Node Room function and pass into it the room information of the room we wish to connect to, along with the member’s properties we set previously. Additionally, we can pass a password in if this room is password protected. Also, when the callback is successful, we can open the level of this room, which we obtain from the room information stringKey mapped to our Levels map.
Note
Like before, the different Join functions can have multiple forms. Here, we join straight to a room on a Room Server. But we can also connect to a Room Server and then to a room. Again, it depends on your server architecture and game design as to which is the best method for you.
Finally, we want there to actually be rooms to connect to, so let’s look at the create room widget.
This widget has a few options to set up our room. A name, password, the level, and if the room is ranked or not.
In the graph, we can see how we create a room. For this, we need room and member properties. We need member properties since room Create functions auto connect the caller as the first member of the room.
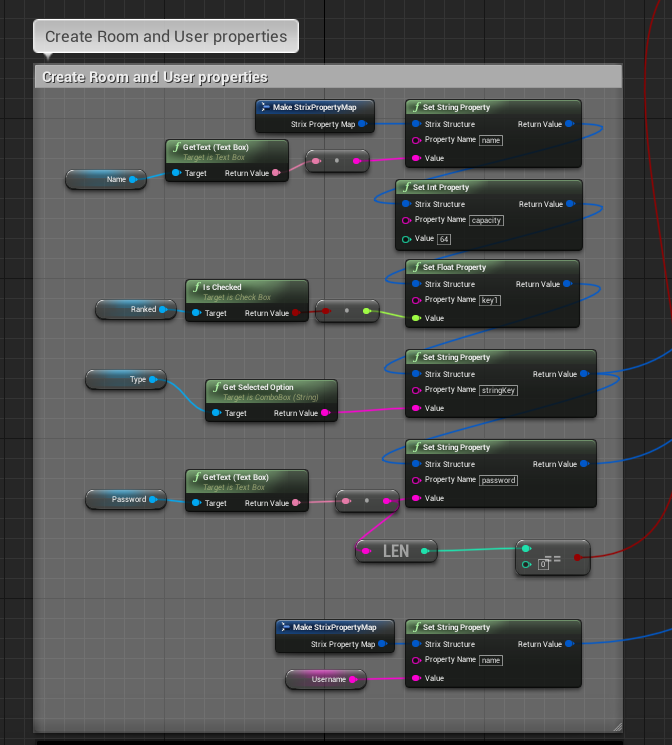
Looking at the Create Room and User properties section, we can see that we have created a couple of property maps and set different values inside them. These are a mix of default and custom values, and you can see more information about their purposes on another part of this document.
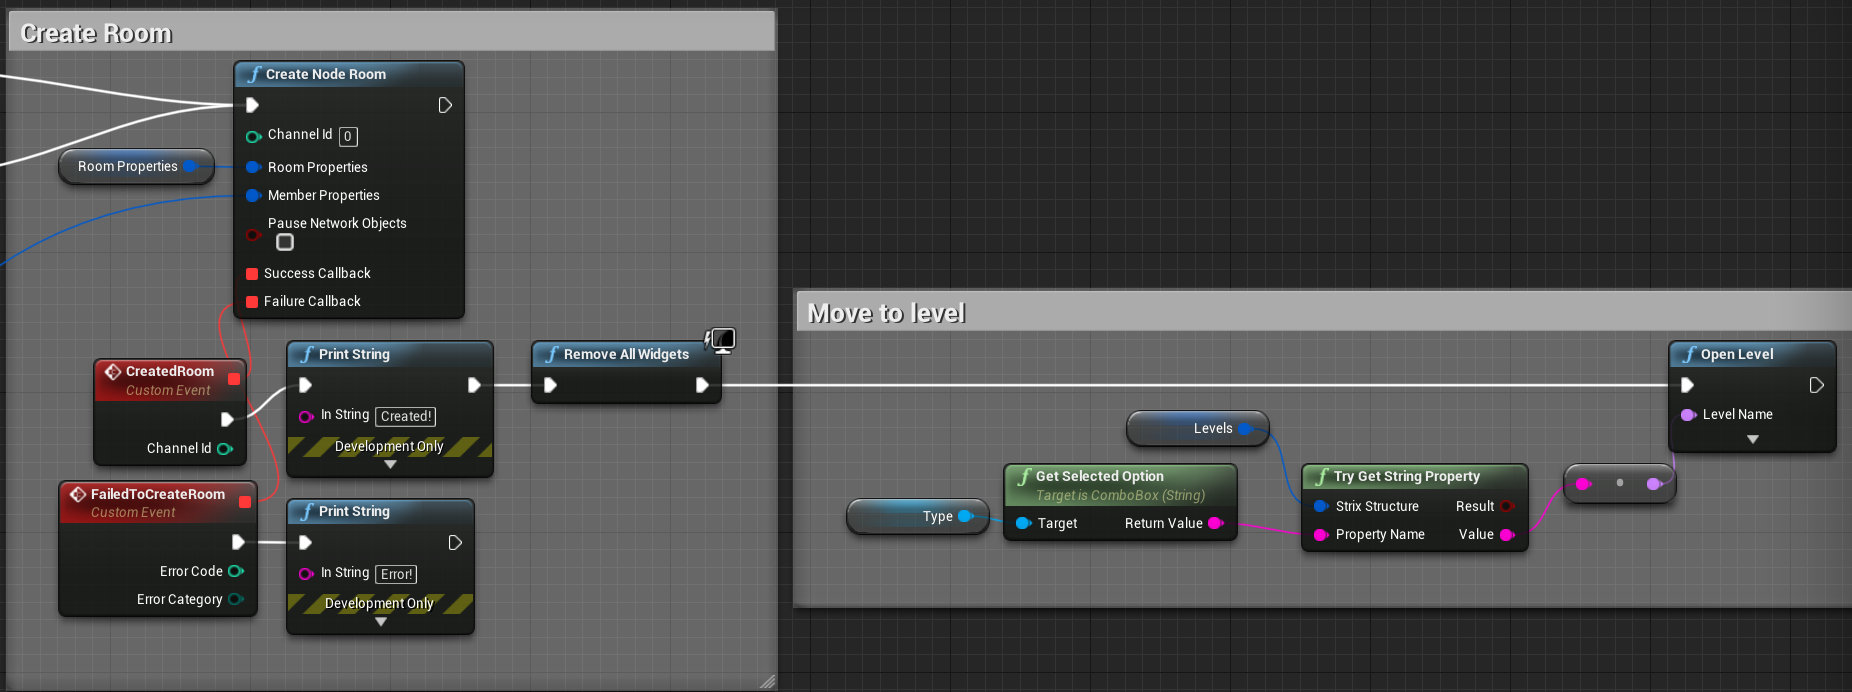
Once set, we can use our properties to create a room. Create Node Room creates a room on a random node (Room Server), so we don’t have to connect to a room server first. When the callback is successful, we are automatically connected, so we open the level.
How exactly you connect to your Strix servers is up to you. However, you will always want to follow the steps below:
Connect to the Master Server
Define your search conditions
Connect to a Room Server and search for a list of Rooms OR search for a list of Node Rooms
Use the room information to Join a Room
Strix connections work in the backend and the Strix Unreal SDK provides several Actor components that use these connections to sync Actors across clients. They also use Blueprint functions for retrieving information from the connection or messaging other clients. We will cover this in-game functionality now.
Note
You may have noticed the channel ID parameter on certain functions. This is used for connecting to multiple rooms at once. We will cover this later. For now, just use the default value of 0.