Strix Cloud Setup
The following guide will show you how to set up a server on Strix Cloud. A Strix Cloud Account is required in order to make a Strix Application. (You can sign up from here if you don’t have an account.) Please consult Strix Cloud documentation for details.
Sign in to your Strix Cloud account.
If this is your first time to use Strix Cloud, you should see an empty list of Applications.
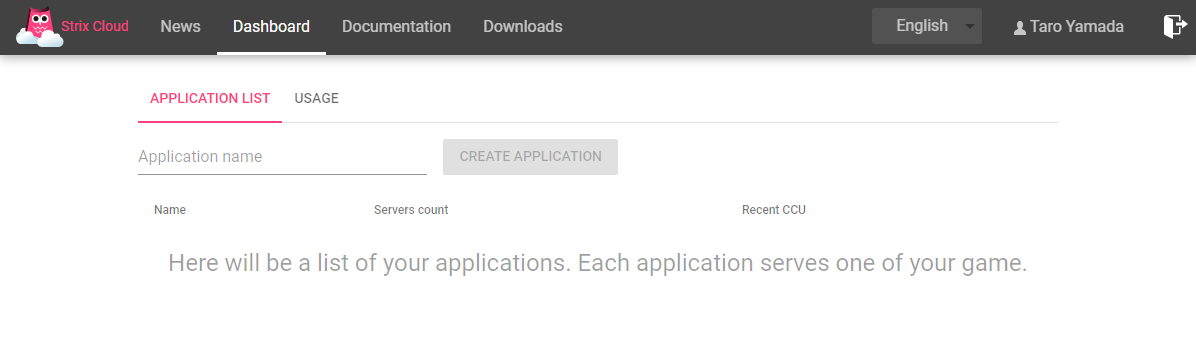
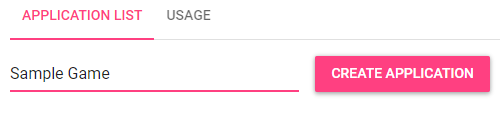
Enter any favorite name for your application above the empty list, and click Create Application.
The list now shows a new application you have just created.
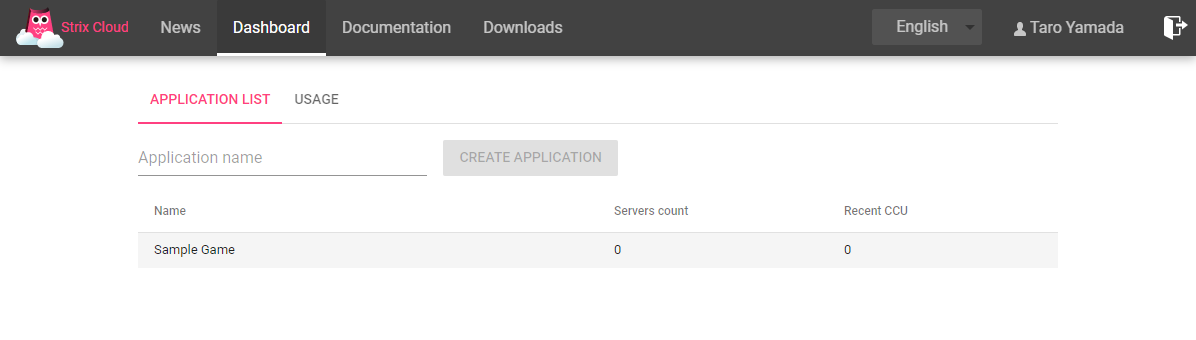
Click it to show the Application Dashboard for the Application.
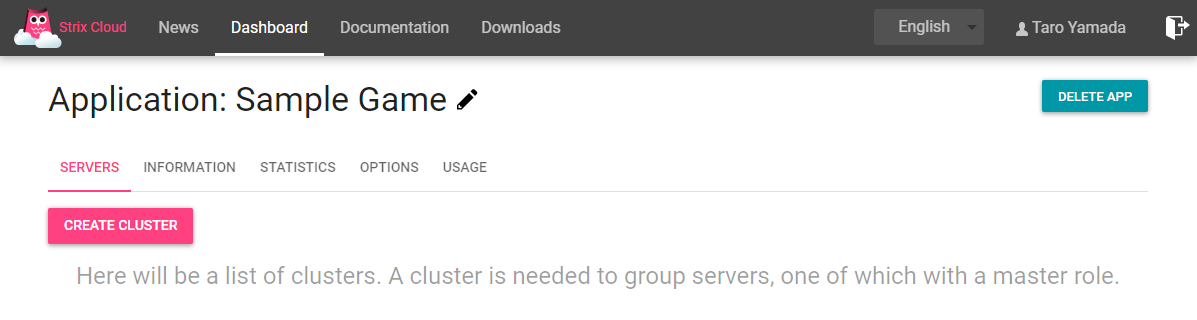
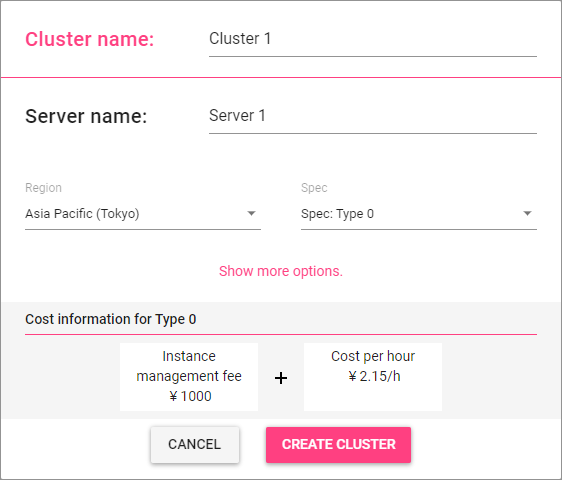
Click Create Cluster button to show a popup, then click Create Cluster button on the popup to create one. (You don’t need to change any settings from the default for the purpose of test driving.)
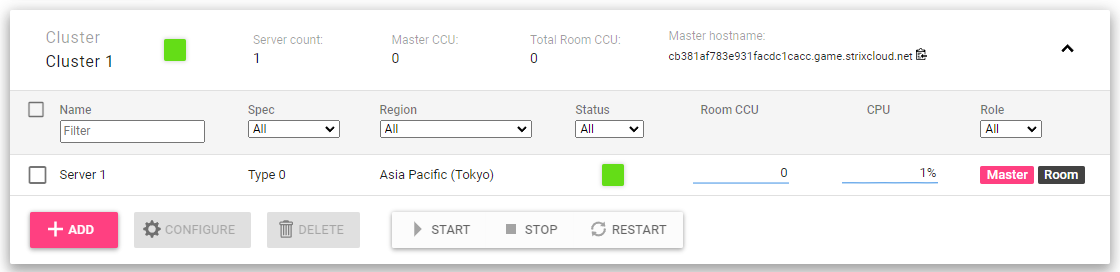
Now your first cluster is displayed. Wait until the Status of your server turns into a green square, which indicates the server is up and running.
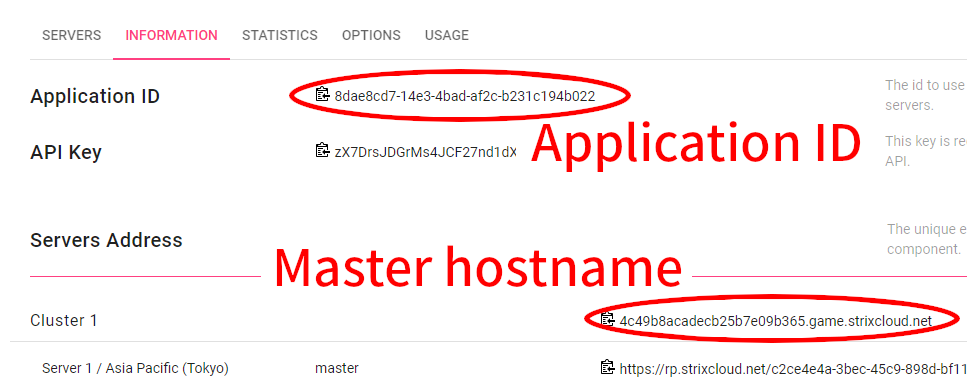
In the Information tab of your application, find the Application ID and the master hostname and keep them for later use. (The master hostname is shown to the right of “Cluster 1”, in the Server Addresses area.) They are required to connect to your server from your game.
Note
You can stop the server by checking the checkbox on the left end of the line for your server and clicking on Stop icon. Later, you can start it by Start icon. This way, you can stop your server when you don’t need it.